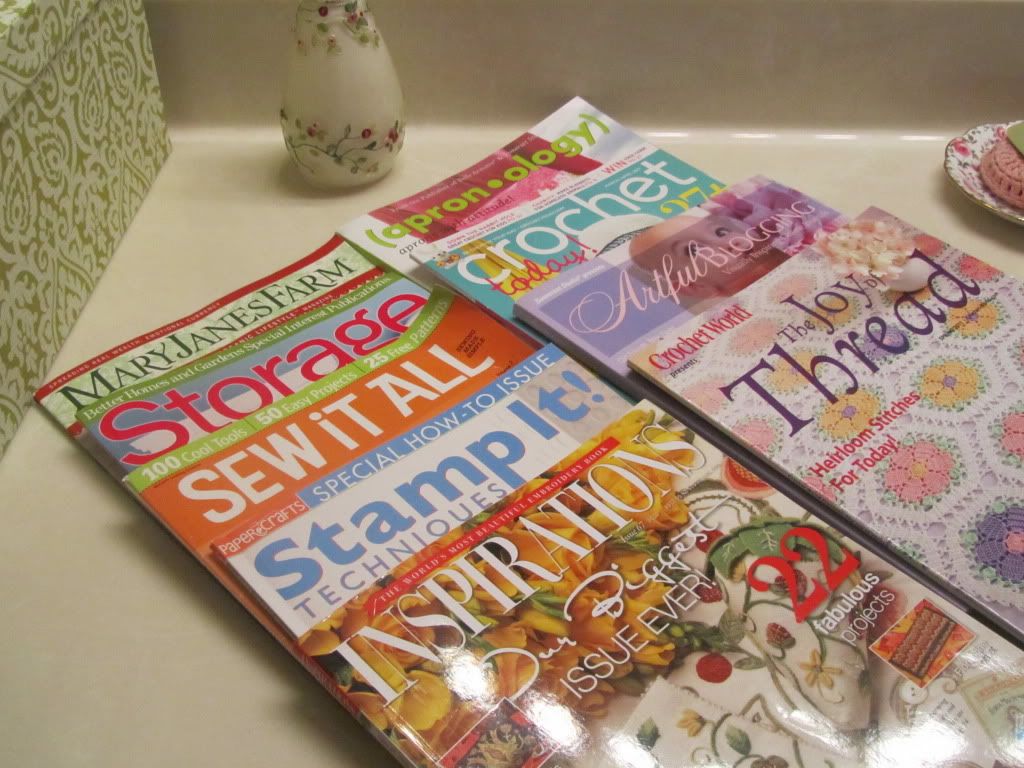
It will take me a while to get through all of these, but I am looking forward to being inspired and most likely expanding my crafting wish list for the next few years.


That's what I thought when I first saw this book during my library seach for easy knitting projects. And as usual, if I want to know something, I go to my knowledgeable Uncle Google. And as usual, he gave me some great information as well as some really cool links and ideas!
Corking, also known as a knitting spool, knitting Nancy, or knitting knobby is simply knitting a tube using pegs and a blunt needle instead of knitting needles. So we got the book from the library - it's cool and fun and just FULL of crafts and projects and toys that you can make with your tubes - and daughter promptly discovered it and decided that she wanted to make a small spool, like the one on the cover, so she could make a rope. (She loves to tie things up!) Younger son saw us making hers and he decided he'd like one, too! By the time we were done making younger sons, middle son wanted in on all this knitting action as well.
They are pretty easy to make. All you need is something round and hollow, 1" cloth tape, finishing nails (they are straight with no heads to speak of), yarn and a yarn needle or smaller crochet hook.
We used a toilet paper tube, a 15 oz. can and an large yogurt container. For the toilet paper tube, you cut it along the side, roll it until it is doubled (till the cut sides are even when rolled double-thick - does that make sense?), and tape it closed with the cloth tape. Put a strip of the cloth tape sticky side out around the top of your spool, then you place the two nails together (as one peg) on the tape at 12 o'clock, 3 o'clock, 6 o'clock and 9 o'clock, having the nail heads 1/2" above the rim of your spool. Cover that strip with another strip of cloth tape. Then you seal the top edge, and secure the nails in place by cutting strips of the 1" tape in half lengthwise and taping in between each nail set. That's it!
The instructions for the larger containers are essentially the same, except in placing the nail sets around the rim you will space them 5/8" apart. You may also cover your corker with felt or fabric to make it more decorative, if you wish.

The work you see here - each son is about halway down his tube in length, and daughter's is coming out the end - was done in the time since Dad came home from work. Not too bad. The best part about it for each of them is that they made it all themselves from things we have here (although I did have to run to the drugstore and get some more cloth tape!)
Here are a few links if you'd like to learn more or get started yourself in corking.
And of course, don't forget to look for this great book, Corking by Judy Ann Sadler, at your local library or bookstore!
Some extra information: If you don't knit, like me :-( then you can use this same principle to make a straight knitter, which is what I am going to do. History: I found some adorable specialty yarn on sale and had visions of knitting a cute something for daughter and granddaughter. Reality: It didn't work. At. All. But now I see that I can simply make a straight corker - a piece of 1x4 wood maybe 8" long with the nails/pegs evenly spaced along the top - and 'knit' some scarves that way. Yeah!! Besides, the children were telling me all evening to make my own because I kept asking them to let me try theirs "just for a minute" ;-)
I'll post a Tutorial on how to make the spool if anyone is interested or would like more information than the directions above.
We took a holiday from school because of Dad's new job promotion and here is a photographic account of where the day has taken us.
We started off at JoAnn's for their sale . . . . .

. . and got some fabric to make a few things for my granddaughter (the adorable butterflies will be a dress with a pink band at the bottom and a matching hat with pink lining, the green floral will be a dress with matching hat, with the green stripe for the lining, and the blue will be a tiered skirt with the light blue as a tiered top! see patterns below) . . . .

. . . . and they had patterns on sale, too! I might have been able to resist but they were only 99 cents!! You know, of course, of my weakness.
And - while we were over at that side of town, we might as well stop in at a few of the thrift shops and see if there's anything new!

I was soooooo happy to find a lovely pitcher and large covered candy dish to add to my collection. What a treat! I was also able to find a small cruet with stopper, a tumbler, and a relish tray. All had for under $15 total!!
Then went home for lunch and chores.

Son is replanting some of our garden - cucumbers, tomatoes and eggplants, I think.

And daughter came outside to finish the little counted cross stitch she started yesterday.

It's so sweet -- both of her brothers have commented on what a great job she's doing. This is her first time doing counted cross stitch and after I helped her how to find the middle and count outward, she did the rest totally on her own. She's very pleased and ready to tackle something a little bigger!

Our dog-girl wanted a picture,too! She's a Corgi-mix that we were thrilled to find at the animal shelter last year as a second dog & companion for our little dog-boy, who is a Russell Terrier/Dachsund mix (another shelter find!)
That's it. The rest of the day will be spent ironing and in cleaning up my kitchen table - AGAIN!
Over halfway through with it! (It's for middle son and I will probably enter it in the Fair.)

. . . . Denise, and I'm a pattern-a-holic.
I don't mean to be, really. I don't know what comes over me. I can look through all the pattern books and see nothing I really want -- but then let those same patterns go on sale for $0.99 or $1.99 and suddenly I don't have enough paper to keep track of my want list!
And it's not like I don't have a variety of patterns, either. Because I've got it all. From Men's shirts and pajamas, to costume patterns I used to make capes for the boys, to every imaginable type of dress for daughter - except for anything with zippers! I don't do zippers. We just don't get along. I've tried a few times since my dismal failure 18 or so years ago, but it just hasn't worked out between the two of us. Although now even a zipper on a pattern can't stop me since I've figured out how to convert zipper patterns to ones that button!! I have all types of animal, apron, bag, organizer, and puppet patterns, not that I've ever made a puppet, but they're cute and one day I might want to, right? You DO see, don't you? I haven't made a dress for myself for a few years, but does that stop me from buying patterns still? Not on your life! Some day the perfect combination of fabric + pattern + mood will strike and BAM! I'll have another dress. But how can I do that if I don't have just that right pattern I saw 5 years ago?
That's my other reason for collecting patterns - and a good one, too. Did you know they don't care if a pattern is your favorite or not. When they want to, they can just stop making it. No notification, no warning. One day you blissfully walk into the fabric store determined to finally buy that pattern you've been looking at for so long and make something from it - or even worse, it's your most used pattern and you need a new one or a bigger size - only to discover that it is no longer in the pattern book. Not in the drawer. It's been Discontinued!
So, back to my pattern gathering. My newest weakness, problem, brilliant idea is to buy the desired pattern in multiple sizes so that I am prepared for any possibility. You can see how this expands my list expotentially.
At this particular time, I won't go into the patterns I've bought on-line through specialty shops and e-Bay, and I certainly won't mention garage sales! (A memorable one is a box of about 50 patterns for $5.00!)
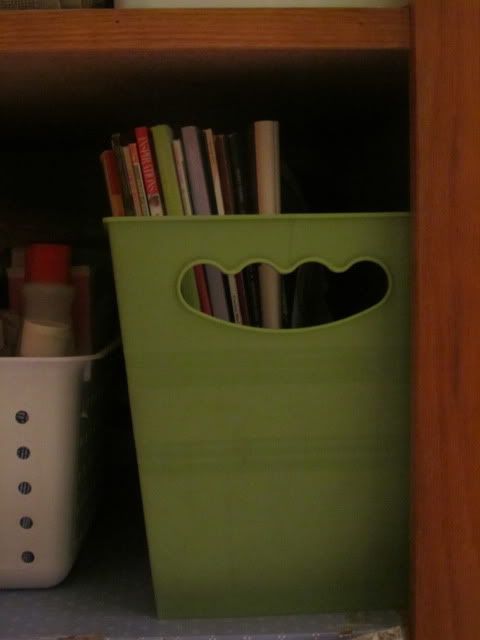
What do I do with all these patterns? There's the problem of storage. I don't have "A Spot", so they are in this box here and that bag there, patterns I'm currently using and patterns that are in line (that have fabric & notions already purchased and ready to go) - which also means that there are times I buy a duplicate pattern because I forgot I have it already. You know, if you like it once, it is sure to catch your eye again!
Is there hope for me? Am I alone? Will I ever recover? Or should I just give in and relish, delight and dream of all the things I can make "One Day"?

p.s. This isn't all of the patterns I own. Just the ones I could get out without too much trouble. ;-)
Did you know that with just a few simple tools you and your children can have fun and make some sweet and beautiful artwork?
Quilling is the name of a centuries old paper craft also known as Paper Filigree. All quilling designs are based upon a handful of easily learned shapes. How you combine these basic shapes into a "picture" can be as simple or as fancy as your imagination allows.


These are very simple little designs, easily made with a little bit of care and patience.
The more intricate designs are just stunning -- I stare at them and think "That is PAPER?"

If you are interested in learning more about this great family craft, here are some resources to get you started:
The quilled calendar above is from the North American Quilling Guild Web-site.

This little duck on the water was created by daughter this morning from the Little Critters kit made by Lake City Craft Co. and purchased at Create-For-Less)
And I just couldn't resist putting up this fun "Quill-A-Day" calendar.
Please take a minute to browse through the sites above (and no, I am in no way affiliated with them and receive nothing from them) and even if you don't give Quilling a try, at least you will know what it is, and appreciate the work that goes into some of the beautiful artwork you may see in the future!
Blessings to you!
If you didn't know it already March is National Craft Month!!
In honor of that, I thought I would pass along the link for this really neat crafting site. Create-For-Less.
Do you Knit, Crochet? Yep, they got it. Latch hook and Punch Embroidery? Yep, that too. Felting, Quilling, Scrapbooking, and much more. If you can make it, they probably have the supplies for it.
So what are you making to celebrate?
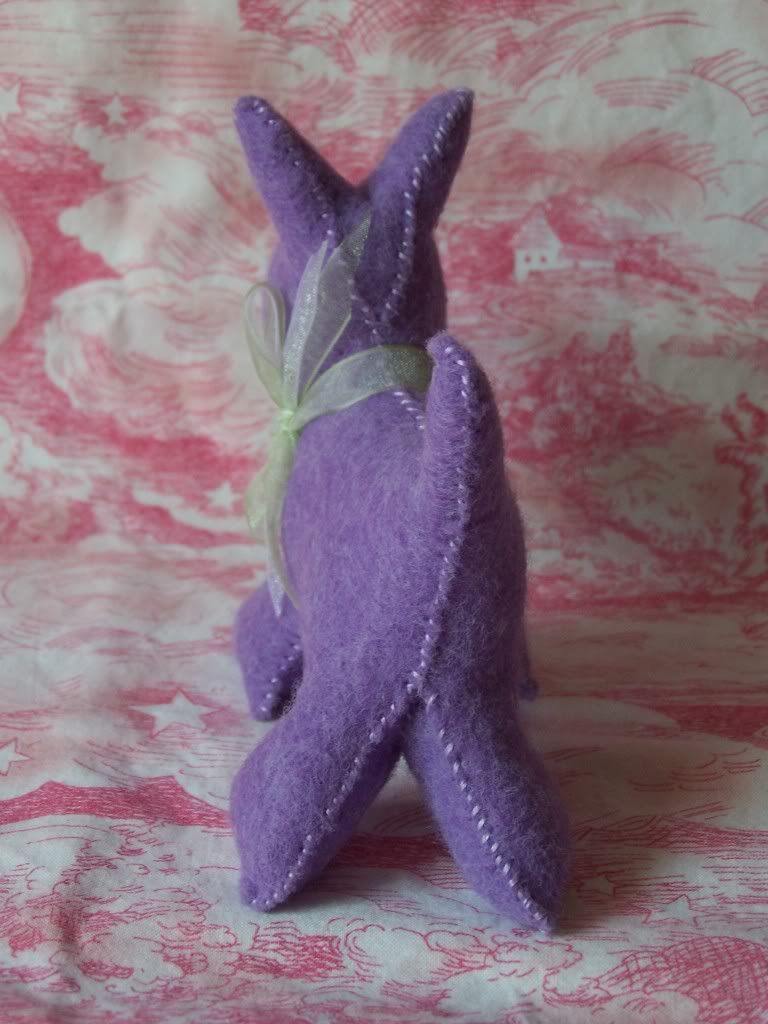
Hello again, Ladies! Henrietta and I have been busy, busy. We are making progress on our dresses, as well as a few other projects that have found their way to the sewing table! But our focus today is . . . . . Sleeves! Six of them to be exact!

Here we have the sleeve bands all pinned together and ready to be sewn.

They've been pressed and Henrietta has them all pinned in place on the proper sleeves. Back to the sewing machine!

Isn't Miss Hen so sweet? She watches over everything. Here she's making sure that the seam is straight and that the pins are pulled out before the needle sews over them.

Now it's time for the gathering stitches at the sleeve cap. Diligent Hen is there, too!

Pinning and Pressing is the name of this game. Luckily Henrietta is an experienced hedgehog. She learned to sew at her dear mothers' knee - well, little foot. (Do hedgehogs have knees?)

Ahhh . . . there now! The sleeve bands are all pressed and pinned and ready for sewing down by hand. That's a job we like to do in the evening. It's very restful and relaxing before climbing into bed! Is it just me, or does Miss Hen look a bit proud?

Here's what we have so far: Three lined bodices with banded collars, three banded sleeves and one pieced skirt edging.
Tomorrow we (Hen and I) will bring you up to date on all we've been doing -- sleeves, pockets and extra projects, too!
Day 2, continued.
Yes, yes, the pieced strip was sewn upside down! And, I hope you won't think less of me, but I actually threw myself down on the floor and cried/laughed! HOW could I not have noticed it? I think I was so pleased with myself for coming up with such a creative solution that I was in La-La-Land until I was pressing it at the ironing board. It was stitched AND the seam zig-zagged to finish it off, so I had quite a bit of time for reflection on my mistake while the seam ripper was busy doing it's job. Here is the comleted piece, sewn Correctly!

Okay - now that that trauma is over, let's have no more! (Stop! Reality check. I did cut out the doggie and the purple dresses the same way, so I'll have to piece a strip for the purple dress, too!! Note: I could go to the store and get more fabric for it, but friend liked the pieced doggie part and thought her daughter would enjoy a dress with that extra something on it as well - which is actually great because I haven't done anything "quilt-ey" for a few years and I really enjoyed the piecing part -- NOT the ripping apart - but getting out my mat and ruler and rotary cutter and planning the little squares was a fun way to spend the afternoon.)
On to the Collars!!

Sorry for the dark pictures, I was working on these at night and figured this was better than the picture with the flash which just washed everything out. These are the three collars with the first part of the contrast edging pinned in place. Off to the sewing machine!

Remaining contrast edge pieces now pinned in place. What's next?

The collar linings are pinned and sewn and now the collars are done! Aren't they sweet? Now, onto the the bodices and linings. (I like sewing several dresses at a time because I love doing it assembly-line style. I don't have to use as much brain power - and if you will note the above mistakes, I need all the brain power I can get! - and it is much more productive for me. I can get two or three dresses done in just a little bit more time than a single dress takes.)

These bodices are fully lined (It just makes a much nicer finished product even if I'm not following the pattern :-) so there are two bodice pieces for each dress.
I'm sorry I didn't get any pictures of pinning the bodice/collar/lining together, but friend was over for the evening and we were sewing and chatting and I forgot. :-(

When the bodices were done, I went to bed. Thank you, Henrietta, for keeping me on track!
What a time we have had!!
You remember, of course, that we were short of fabric to cut the whole collar for daughter's doggie dress. What I ended up doing is just making two pattern pieces from the one and having the collar pieced instead of in one piece cut on fold. Just fine, nobody will really notice unless they look closely, and her hair will be covering it most of the time anyway. No problem!
Well, as I was cutting out the pink fabric, I discovered an even larger mistake I made! I believe I mentioned how I was going to just make the skirt longer to accomodate daughter's unstoppable growth -- and I did. At least on the back of the skirt. I cut the front just regular, on the pattern line. ARRGGHHHHH!!
What to do, what to do?? Brilliant flash of inspiration! I have plenty of scraps - I'll just do some fancy piecing around the bottom to make up for those three lost inches and it will be great! I got the new border/fill pieced and sewn onto the solid bottom edge of the skirt -- except do you notice another problem?

That's okay, I'll give you some time to figure it out.
The time has come, oh children, to talk of other things; Of patterns and pinning, of sewing and seams . . . .
Two nights ago Hen and I started our new project - making two dresses (one for daughter and one for a friend.) We pinned and cut until both of our backs ached!

Henrietta was wonderful - working tirelessly - even though she was on the verge of losing all her pins! (Actually it was kind of a blessing that she was losing all her pins since Dear Son 2 had some time on his hands and decided to 'dress' Henrietta with a whole box full of pins arranged in a rainbow. But she really doesn't like to talk about it, so let's just forget I mentioned anything. ;-)
We did run into a little snag in that daughter is growing. (They do that, don't they?) And since I lengthened the dress skirt by a few inches, I did not have enough fabric for the collar, by a few inches. Grrrrr. Not a problem really - Off to the fabric store we go! I bought the fabric (blue doggie, above) several months ago, so I really knew the store would no longer have any - but I was hoping. And we both love it so much, I'm kicking myself for not automatically buying extra. (see How to Buy Fabric from A Dress A Day) But, we can't change yesterday, so we must deal with today.
As suspected, the store no longer had our sweet doggie fabric, but they did have this --

Too springy and delicious to resist. And at $7.99 a yard for the pink ($5.60 at 30% off) it was a bit of a splurge, since I am terribly frugal about fabric and generally never pay more than $4.00 a yard with sales and 40-50% off coupons. Most everything that I sew for daughter ends up costing less than $15. But I digress . . . . .
So now our count is up to three dresses - We'll cut out the pink, figure out something to do about daughter's doggie dress collar, and be back soon with our next installment.


The pictures don't nearly show how sweet this little blanket is! One side is the softest shade of pink fuzzy imprinted velvet-like fabric, the other is a bold pink nursery rhyme toile. I made it 36" square.
I finished the binding on it last night -- and the LORD was surely good to me! I didn't measure the binding as I was cutting the strips and piecing them. I never do. I just kind of eyeball "Yeah, that looks about enough" So I start pinning the binding onto the blanket, getting closer and closer to the other end and I start thinking "This isn't going to be enough!!" But I pressed on . . . . and wouldn't you know it, when I made it all the way around to the beginning again, my two ends overlapped by 1/4". Can you believe that? I think it's totally amazing!
And then dear husband, in his own sweet way, told me to put a label on it. ("Didn't you spend money for things to make labels? Then use it and put one on there!" "Yes, dear." ;-) I told the children that the label makes it look like somebody actually made it. LOL!!
The great label making tutorial that I used can be found at Fresh Vintage.
While taking pictures of the new blanket for Great-Niece KNW, I thought I would take some photos of a quilt I made for daughter a few years ago -- I love how it turned out so this goes under the category of purely showing off, but you'll bear with me, won't you?

Brights! Hot Pinks! Bright Green! Fabulous Turquoise! and a nice staid purple floral to anchor it all.
The pattern is Woven Ribbons from the book Fat Quarter Quilts . I made this during my lovely but brief stint as a member of the local quilting guild. As I recall, this was one of the All-Nighters -- bring your fabric and machine (and iron and all necessary cutting implements) and cut and piece until you're done or ready to go home. It was a LOT of fun. And like so many of the groups on-line, it is so interesting to see how so many different people "see" such differences in the same pattern.
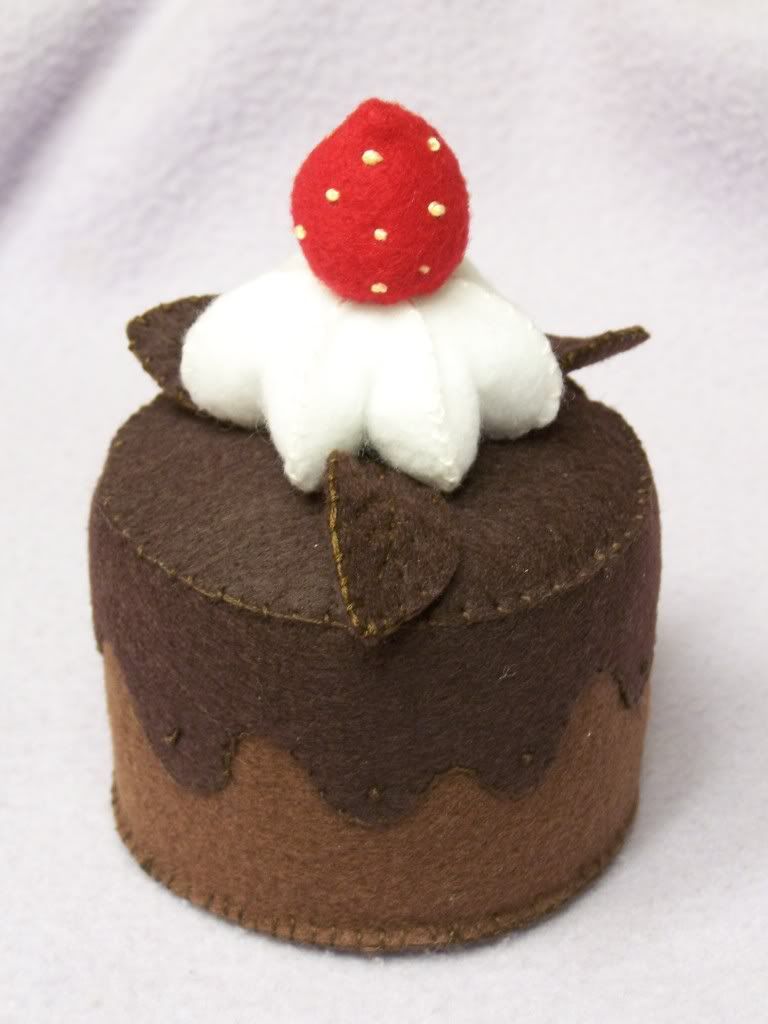
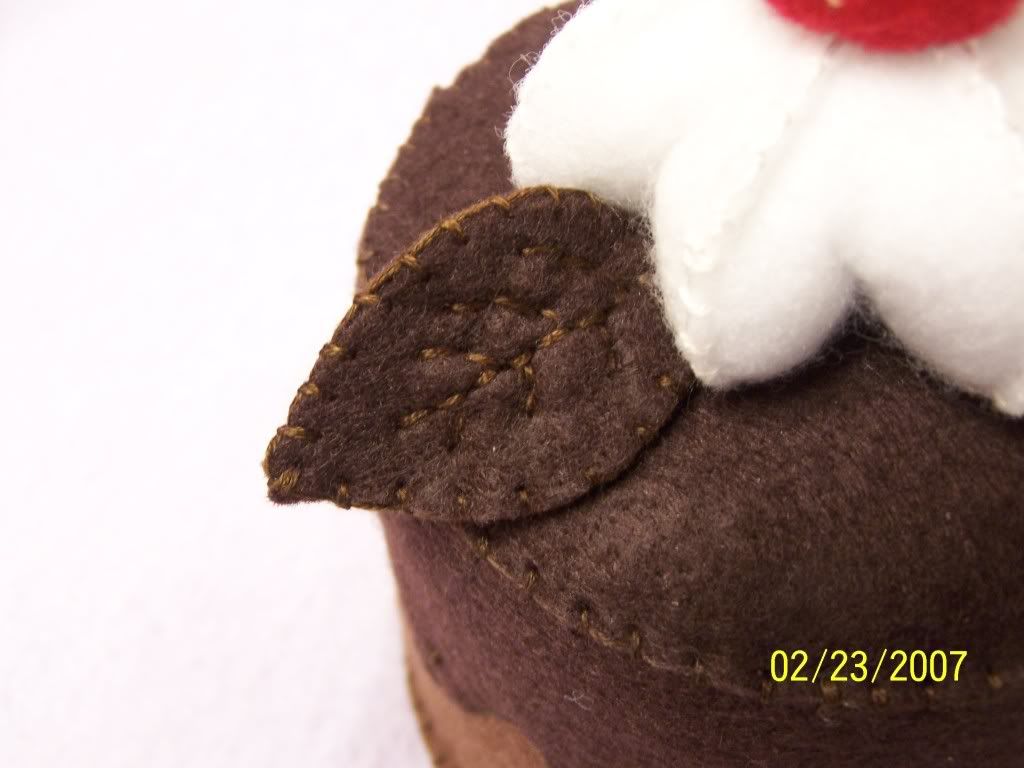
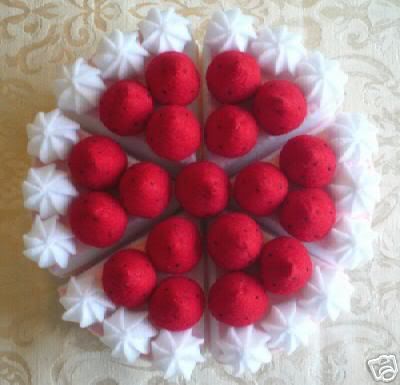
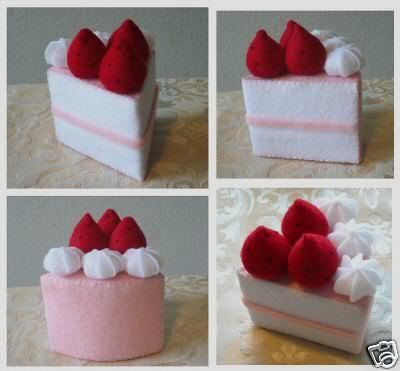
My first Chocolate Felt Cake is done!
It was so much fun to make --
I envision many more to come!
With simple needle, floss and tender care,
There is soon a lovely gift beyond compare.
A Chocolate Cake with dripping Chocolate Fudge icing, a generous dollop of whipped cream and topped with a sweet, fresh strawberry. The Chocolate Leaves were the perfect finishing touch for this little gem.